Specimen 001, Betta splendens. Coming soon.
Every frame begins as an animal.
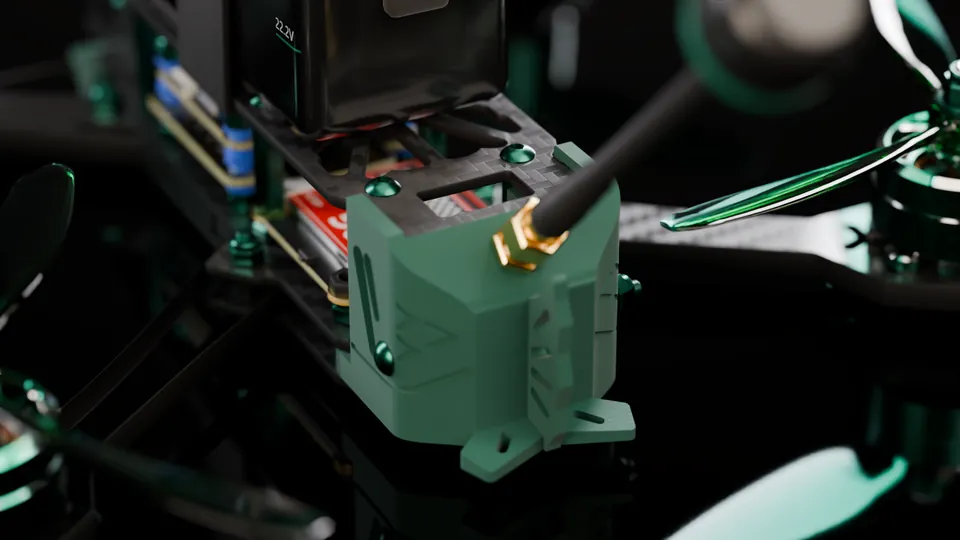
EcoTypeFPV makes FPV frames shaped by real animals. The first is the Betta: a 5-inch freestyle frame with crowntail camera cheeks, forked motor mounts and its mark cut through the deck.
Drag the Betta to turn it
The Betta.
Betta splendens flares its fins to look bigger than it is. The frame does the same. Tap a part on the model, or pick one here.
Live model of the Pro kit's CAD. The Basic kit swaps the 7075 cage for carbon cheeks. Figures are design targets until flight testing.
Up close.
1 / 7
Will my gear fit?
The Betta's bays, measured from its CAD, against the published sizes of the parts people actually fly. Nothing here has been test-fitted yet, and each answer says why it fits or doesn't.
Video system
Camera and VTX
Every number.
The whole Betta on one page, read straight from its CAD. Masses are calculated from the drawings; nothing has been weighed in carbon or flown yet.
Size and geometry
Materials
| Plates, arms, keel | Carbon fibre, cut flat; a T700-class laminate is the target, to be confirmed with the supplier |
|---|---|
| Camera cage, Pro | 7075-T6 aluminium, machined and anodised in your finish colour |
| Camera cheeks, Basic | 2 mm carbon, with a printed TPU rear brace |
| Wear parts | TPU 95A, printed: tail cap, feet, action-camera mount, pads |
| Camera adapters | PA12 nylon, printed |
| Screws | 12.9 alloy steel, button heads |
Weight
A complete quad, estimated from published part weights: about 420 g dry with analog video, 2207 motors and a 30.5 stack, and about 615 g with a 6S 1200 pack. DJI O4 Pro adds about 14 g. Nothing has been weighed in carbon yet.
Mounting
| Flight stack | 30.5 × 30.5 or 20 × 20 mm, M3, 24 mm between the plates |
|---|---|
| Video transmitter | Rear bay 36 × 36 × 15.3 mm on 30.5 mm holes; included carbon tray for 25.5 and 20 mm boards |
| FPV camera | 20 mm cage; 19 mm micro cameras on the included shims; 14 mm nano cameras and the DJI O4 Lite on printed adapters; DJI O3 and O4 Pro on their own inserts; 0–50° tilt with an engraved scale |
| Motors | Slotted M3 holes for 12 × 12, 16 × 16 and 19 × 19 mm patterns; 9 mm centre hole; screws in the kit |
| Receiver | 13.6 mm bay in the keel for nano ELRS (EP1, EP2, RP1), with a wire channel; anything larger mounts on the stack |
| Battery | Top mount on a grip pad, 15–20 mm strap through the top plate |
| Antenna | SMA through the tail cap's 45° face, behind the plates |
| Battery lead | XT60 held on ledges under the tail cap |
| Action camera | Printed GoPro-style mount over the camera, M5 bolt; optional |
How it's checked
Tested so far
- DoneTwo fit builds in printed PLA and TPU, which led to the middle supports, the arm-lock keel and the new tail.
- DoneA crash screening by calculation, which put the first break at the arm root and widened it. A model, not a crash test.
- NextCarbon samples from the supplier, then weighing every part.
- NextTest fits with real stacks, cameras, receivers and packs.
- NextFlight testing and real crash tests, posted in The Lab.
What's in the box
Both kits share the carbon frame, the printed parts and every screw. The Pro kit swaps the carbon camera cheeks for a machined 7075 cage that also stands in for the front supports.
In the field.
Real photos of real prototypes, and what pilots say once they've flown one. Nothing on this page is a render, and no review is edited.
Prototype photos
Pilot reviews
Flying a Betta later? Tag @ecotypefpv on Instagram. With your OK, your photos can go up here.
From sketch to specimen.
Every change to the Betta is logged with the reason behind it. Here is the story so far, straight from that log.
First CAD
A 5-inch wide-X freestyle frame with replaceable arms, drawn from scratch and checked by script for prop clearance and hole spacing.
First fit build, in PLA and TPU
The first printed frame went together on the bench. It led to middle supports, a three-screw arm lock with a carbon keel, and the camera cage doubling as the front supports.
It becomes the Betta
An animal for every frame: the fish-shaped deck, the betta mark and the company leaves. The kit splits into Basic (all carbon) and Pro (machined 7075 cage).
Rear rethought after a second fit test
The carbon tail fins were "just too big". One printed swallowtail cap replaced them, and TPU feet now cover each motor mount.
A bay for the receiver
A 13.6 mm pocket through the keel holds a nano ELRS receiver out of harm's way.
Crash screening simulation
A calculation of which part gives first in five impact cases. It pointed at the arm root, by the plates. It is a model, not a crash test.
Double-tail arms and bumper feet
Wider arm roots answer the screening, forked motor mounts finish the fish, and lighter bumper feet keep the bottom plate off the ground. The battery pad now opens over every window in the deck.
Fork and fin
The rear becomes a fish's tail: a curved waist, a forked fan that echoes the arms and an upright halfmoon fin, all inside the line of the rear arms.
Clean forks, tip caps, slotted motor holes
The motor mounts were redrawn as a symmetric fork, the feet became light caps on two screws, and the holes became slots after a set of 2207 motors didn't fit: 12, 16 and 19 mm patterns now all bolt on.
Test prints, carbon samples, first flights
Then real crash tests, posted here with the damage, good or bad.
Renders so far
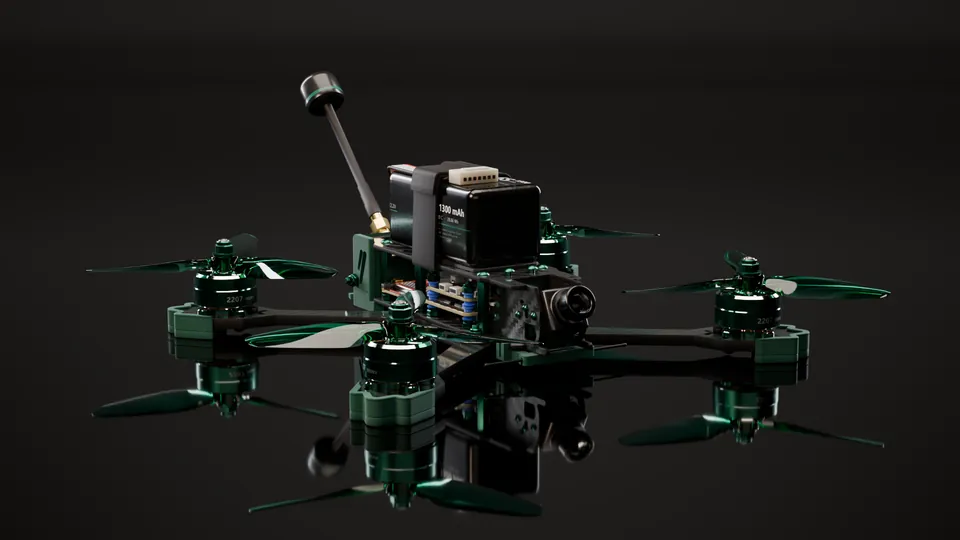
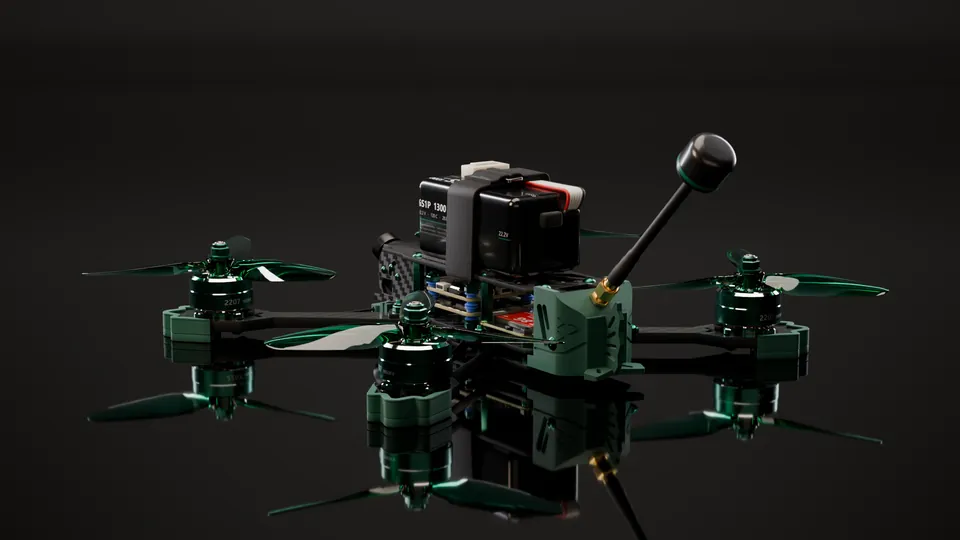
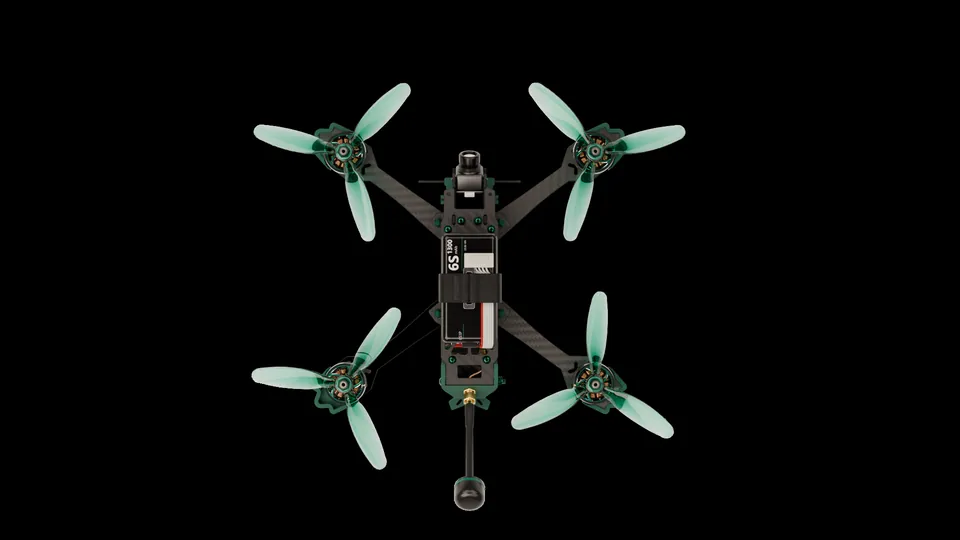
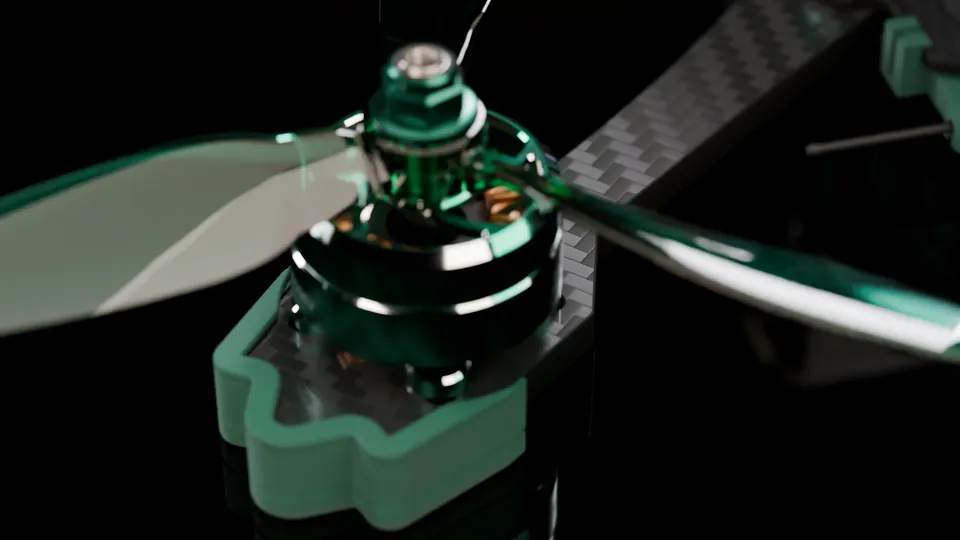
Renders of the Basic kit with the latest arms, feet and tail, made on the founder's PC.
Eco·type
noun, biology A population of a species shaped by the place it lives.
Our mission
To build FPV frames that take their shape from the natural world, and to make every one of them worth keeping: easy to fix, open to the parts pilots already own, and honest about what it can do.
That is what the name means. A frame is a species of its own, adapted to how and where you fly. We take one animal's shape and refine it into carbon until it does a frame's job well: protect the camera, survive the crash and take your gear.
We are a small, independent company starting with one frame. The Betta is a prototype: designed in CAD and fitted in printed plastic, with carbon samples and flight testing next. Every image here is a render, and every number is a design target until it has flown.
What we hold to
- Shaped by nature. Each frame takes its outline, its tail and its mark from one species. The leaves on every bottom plate are ours; the animal on the top plate is the frame's own.
- Built to be fixed. Four separate arms and printed wear parts, so a crash means swapping one part, not buying a frame.
- Open to your gear. Common stack, camera and VTX sizes, with the fit for each one published and the reasons shown.
- Drawn from scratch. Every plate is our own geometry. No copied parts, no look-alikes.
- Honest by default. Renders are labelled as renders, claims wait for testing, and test results get posted, good or bad.
Be first in the water.
The first batch of Bettas goes to this list before anyone else. One email when it's ready, plus the test results as they come in.
Follow the build and common questionsFollow the build
Questions
When can I buy one?
There's no date yet. Carbon samples come first, then test fits with real electronics and flight testing. The first batch goes to the waiting list before anyone else.
What will it cost?
What's the difference between Basic and Pro?
Both share the carbon frame, the printed parts and every screw. Basic holds the camera in carbon cheeks; Pro swaps them for a machined 7075 aluminium cage, anodised in your finish colour. See both parts lists.
Will my stack, camera and VTX fit?
Most common gear does: 30.5 and 20 mm stacks, 19 mm micro and 14 mm nano cameras, DJI O3, O4 Pro and O4 Lite, and 2207-class motors on 12, 16 or 19 mm patterns. Check your exact parts in the Build Lab. Nothing has been test-fitted in carbon yet.
What comes in the box?
The frame kit: carbon plates and arms, the camera mount for your kit, the printed tail cap, feet and pads, a battery strap and every screw and nut. No motors, electronics, camera or props.
Has it been tested?
Two fit builds in printed plastic and a crash screening by calculation so far. Carbon samples, weighing, flight tests and real crash tests are next, and the results go up in Field reports, good or bad.
All images are renders of the prototype design. Specs are design targets until flight testing is done.